How to Fix a Dent in a Car at Home: A Beginner’s Step-by-Step Guide
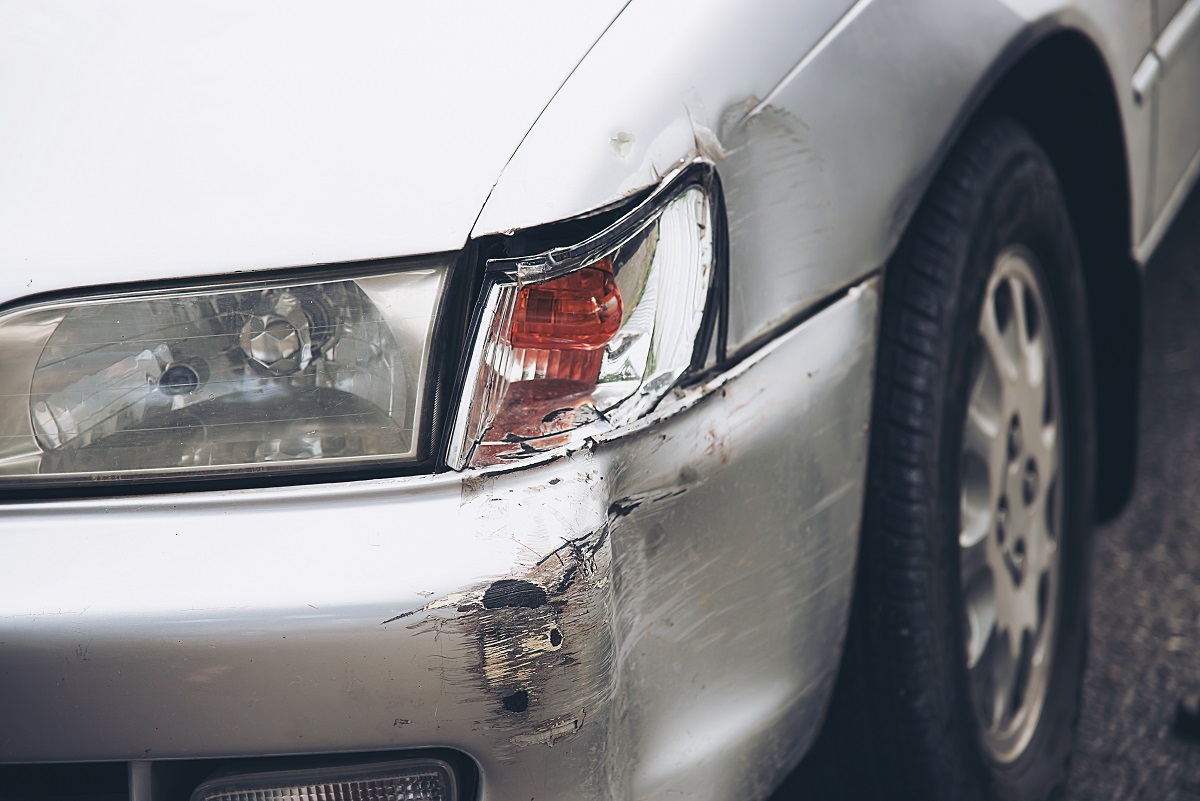
Got an annoying dent in your car? Whether it’s from a runaway shopping cart or a bump in the driveway, dents are frustrating—but they don’t always need a trip to the auto body shop. In many cases, you can fix a dent in a car at home with some patience and the right tools.
This guide walks you through simple DIY dent removal methods for beginners, so you can restore your car’s appearance without blowing your budget.
Can You Really Fix a Dent in a Car at Home?
Yes, absolutely. If the dent is small to medium-sized, doesn’t have sharp creases, and the paint isn’t damaged, it’s a great candidate for at-home repair.
However, not all dents are created equal. Before grabbing tools, consider:
- Is the paint chipped, cracked, or scratched?
If yes, you might also need touch-up paint or a professional respray. - Is the metal stretched or torn?
Deep or sharp dents are harder to fix at home and could worsen with DIY attempts. - Is it located on a plastic part (like a bumper)?
You’ll need a slightly different approach than with metal panels.
If the dent passes those checks, keep reading—you’re ready to give it a shot.
What Tools Do You Need to Fix a Dent in a Car?
You don’t always need fancy equipment. Many minor dents can be removed using tools you already have at home. Here are some popular DIY methods and the basic tools required for each:
Common DIY Dent Removal Tools
- Hairdryer or heat gun
- Compressed air can
- Plunger (clean and cup-style)
- Boiling water (for plastic bumpers)
- Dry ice (with gloves)
- Suction cup dent puller
- PDR (Paintless Dent Repair) kit
You can find affordable PDR kits online or at automotive stores—they often include a glue gun, pulling tabs, and tapping tools.
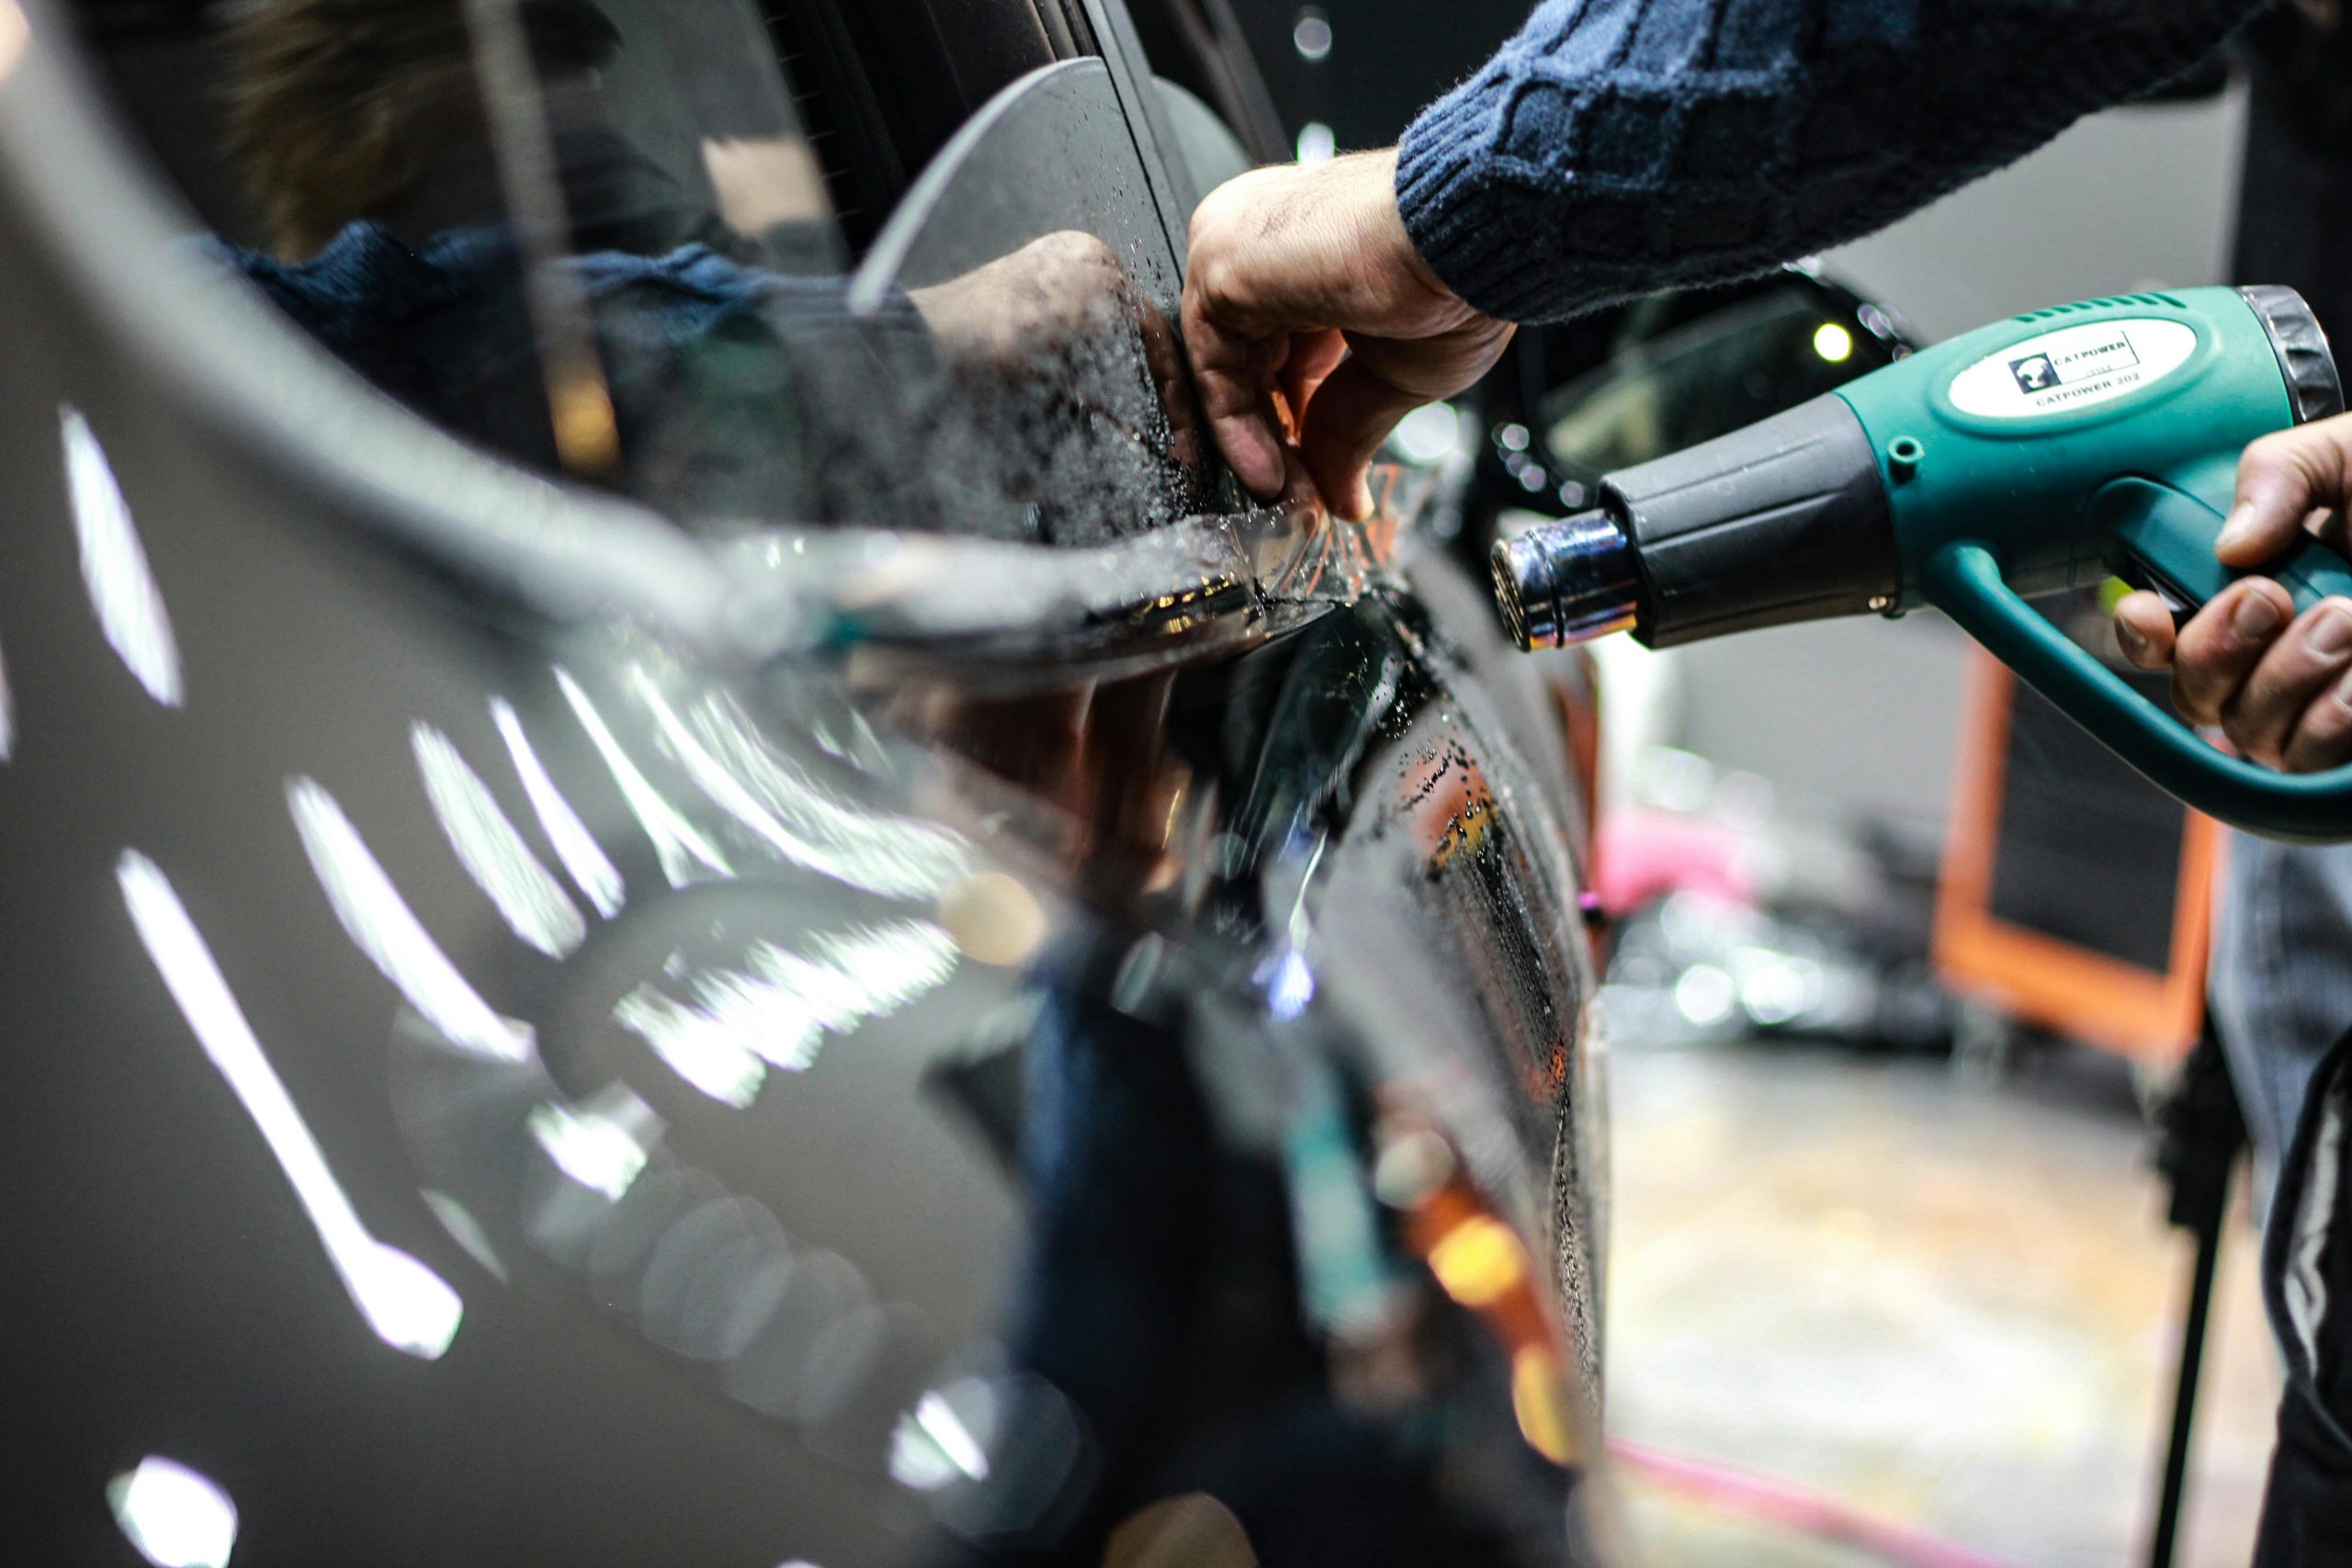
How to Fix a Dent in a Car Using the Heat and Cold Method
This is one of the most popular DIY dent repair tricks out there. The idea is simple: heat expands the metal, and a sudden cold blast causes it to contract quickly, which can make the dent pop back into shape.
What You Need:
- A hairdryer (a heat gun works too, but be careful—it’s hotter)
- A can of compressed air (like the ones used for cleaning computer keyboards)
Step-by-Step Instructions:
1. Warm up the dented area
Plug in your hairdryer and set it to the highest heat setting. Hold it about 5–7 inches away from the dent and move it around in small circles. You want to heat the metal evenly, not scorch one spot. Do this for about 30 to 60 seconds. If you’re using a heat gun, cut the time in half and keep the nozzle moving to avoid damaging the paint.
2. Apply the cold blast
Grab the compressed air and immediately turn it upside down. Spray the same area you just heated. When upside down, the can releases a freezing chemical spray. This rapid shift in temperature can make the metal “snap” back into its original shape.
3. Listen and watch closely
You might hear a faint pop or creak—that’s a good sign. Sometimes, the dent pops out instantly. Other times, you may need to repeat the process once or twice.
Pro Tip:
This method works best in warm weather, when the metal is more responsive to expansion and contraction. Be careful not to overheat the area, or you could cause the paint to bubble or crack.
How to Fix a Dent in a Car Using a Plunger
It sounds almost too simple to be true, but a good ol’ plunger can sometimes work wonders on minor car dents.
Best For:
- Shallow, smooth dents on doors, side panels, or even the hood.
- Dents that are no larger than a small plate and don’t involve creases.
What You Need:
- A cup-style plunger (the flat-bottomed kind—not the flange type used for toilets)
- Some water (to help with suction)
Step-by-Step Instructions:
1. Wet the surface
Pour a little water on the dented area and on the rim of the plunger. The water helps create a better seal between the plunger and the car’s surface.
2. Stick the plunger onto the dent
Press the plunger firmly against the dent until you feel it grip. Make sure there’s no air between the plunger and the car panel.
3. Pull sharply
Give it a strong, quick pull directly outward. If it doesn’t work the first time, reposition and try again. Sometimes it takes a few attempts.
4. Check your progress
After each pull, step back and check if the dent has lessened or disappeared. If the dent is stubborn, consider switching to a suction cup puller or a PDR kit.
Heads-Up:
This method only works on flat metal surfaces, not on plastic parts or sharply curved areas. Avoid using toilet plungers with inner flanges—they won’t form a good seal.
How to Fix a Dent in a Plastic Bumper With Boiling Water
Plastic bumpers are a little more forgiving than metal, especially when softened with heat. If the dent isn’t too deep, this method can work surprisingly well.
What You Need:
- A kettle or large pot of boiling water
- Protective gloves (heat-resistant ones if possible)
- Access to the back side of the bumper (or someone to help)
Step-by-Step Instructions:
1. Boil the water
Bring a pot of water to a rolling boil. Carefully take it outside—use a heatproof container that’s easy to pour from.
2. Pour the hot water over the dent
Slowly pour the boiling water directly onto the dented area. Be generous—it needs to warm the plastic thoroughly to make it pliable.
3. Push from behind
Wearing gloves, reach behind the bumper (if you can) and gently press the dent outward with your hands. If you can’t access the inside, try using a tool with a blunt end, or have someone help apply pressure from the outside using a flat object.
4. Cool it down
Once the dent pops out, pour cold water (or hose it down) over the area to set the shape and help the bumper firm up again.
Bonus:
This is one of the fastest and most effective methods for plastic-only parts, especially if the dent was caused by a light bump in a parking lot.
How to Use a Suction Cup Dent Puller
If you want a tool that’s purpose-built for the job, a suction cup dent puller or a Paintless Dent Repair (PDR) kit is a great investment—especially if you’re dealing with more than one dent.
What You Need:
- A dent puller or PDR kit (widely available online)
- Rubbing alcohol or car-safe adhesive remover
- Clean rags or microfiber cloths
- Optional: Hot glue gun (most kits include one)
Step-by-Step Instructions:
1. Prep the surface
Wash and dry the area thoroughly. Use rubbing alcohol to remove wax, oils, or polish—this helps the puller stick better.
2. Apply the pulling tab
If you’re using a glue-based system, attach a small dab of hot glue to the pulling tab and place it on the center of the dent. Let it set for 2–3 minutes.
3. Attach the pulling tool
Clip or screw the pulling mechanism onto the tab, depending on the style. Begin applying steady pressure. Don’t yank—use gentle, even tension to coax the dent out.
4. Remove and clean up
Once the dent is gone, spray a little rubbing alcohol around the tab to loosen the glue, then peel it off gently. Wipe away any residue with a soft cloth.
Why It Works:
PDR kits are designed specifically for automotive dents. They’re more controlled than plungers or heat/cold methods, and they minimize the risk of stretching or over-correcting the metal.
Can You Fix a Dent in a Car Without Damaging the Paint?
Yes, as long as you’re careful. That’s one of the big benefits of DIY dent repair when done right. Here’s how to avoid harming your car’s finish:
- Stick to paint-safe tools (no sharp edges, no screwdrivers)
- Avoid excessive heat—this can blister or fade the paint
- Skip sandpaper or harsh abrasives
- Use glue-based pullers properly and clean them thoroughly
Paintless Dent Repair (PDR) is called “paintless” for a reason. If the paint is already damaged, though, consider addressing that separately after the dent is removed.
When Should You Skip the DIY and Call a Pro?
DIY is great, but sometimes it’s just not worth the effort—or the risk. Here’s when it’s better to get professional help:
- The dent is sharp, creased, or runs along a body line
- The paint is cracked, chipped, or peeling
- It’s on a corner, curve, or spot you can’t easily access
- You’ve already tried a few methods and nothing’s working
- You’re returning a leased vehicle or planning to sell the car
Professionals use specialized tools and trained techniques to fix even the toughest dents. If you’re aiming for flawless results, especially on newer or higher-end cars, it’s worth the extra cost.
How Long Does It Take to Fix a Dent at Home?
Most DIY dent jobs take between 15 minutes and 1 hour, but here’s what can affect your time:
- Size of the dent – Bigger dents may take longer to massage out
- Type of method used – Heat/cold is quick, PDR kits take more setup
- Number of attempts – You might need a couple of rounds to get it right
- Access – Some areas of the car are harder to reach from behind
Plan for about an hour your first time, and don’t rush. Working slowly helps you avoid making things worse.
Pros and Cons of Fixing a Dent Yourself
Here’s a quick breakdown to help you weigh the decision:
Pros:
- Inexpensive – Most fixes cost less than $50
- Convenient – No appointments or time off work
- Satisfying – There’s a real sense of accomplishment
- Quick wins – Small dents can sometimes be fixed in minutes
Cons:
- Not always effective – Especially for tricky or stretched dents
- Potential to cause damage – Overpulling or overheating can make it worse
- Takes practice – First tries might not be perfect
- Could void warranty – If your car is under certain coverage plans
What If the Dent Doesn’t Come Out?
Don’t panic. Not every method works the first time, and that’s totally normal.
Try these troubleshooting steps:
- Switch methods – For example, go from heat/cold to a suction puller
- Repeat the process – Especially with heat and cold, it can take 2–3 rounds
- Add pressure slowly – Avoid yanking or pushing too hard
- Evaluate the dent – If it has a sharp crease or the paint’s cracked, DIY may not cut it
If nothing works after a few careful attempts, it’s a sign the dent may need a professional’s touch.
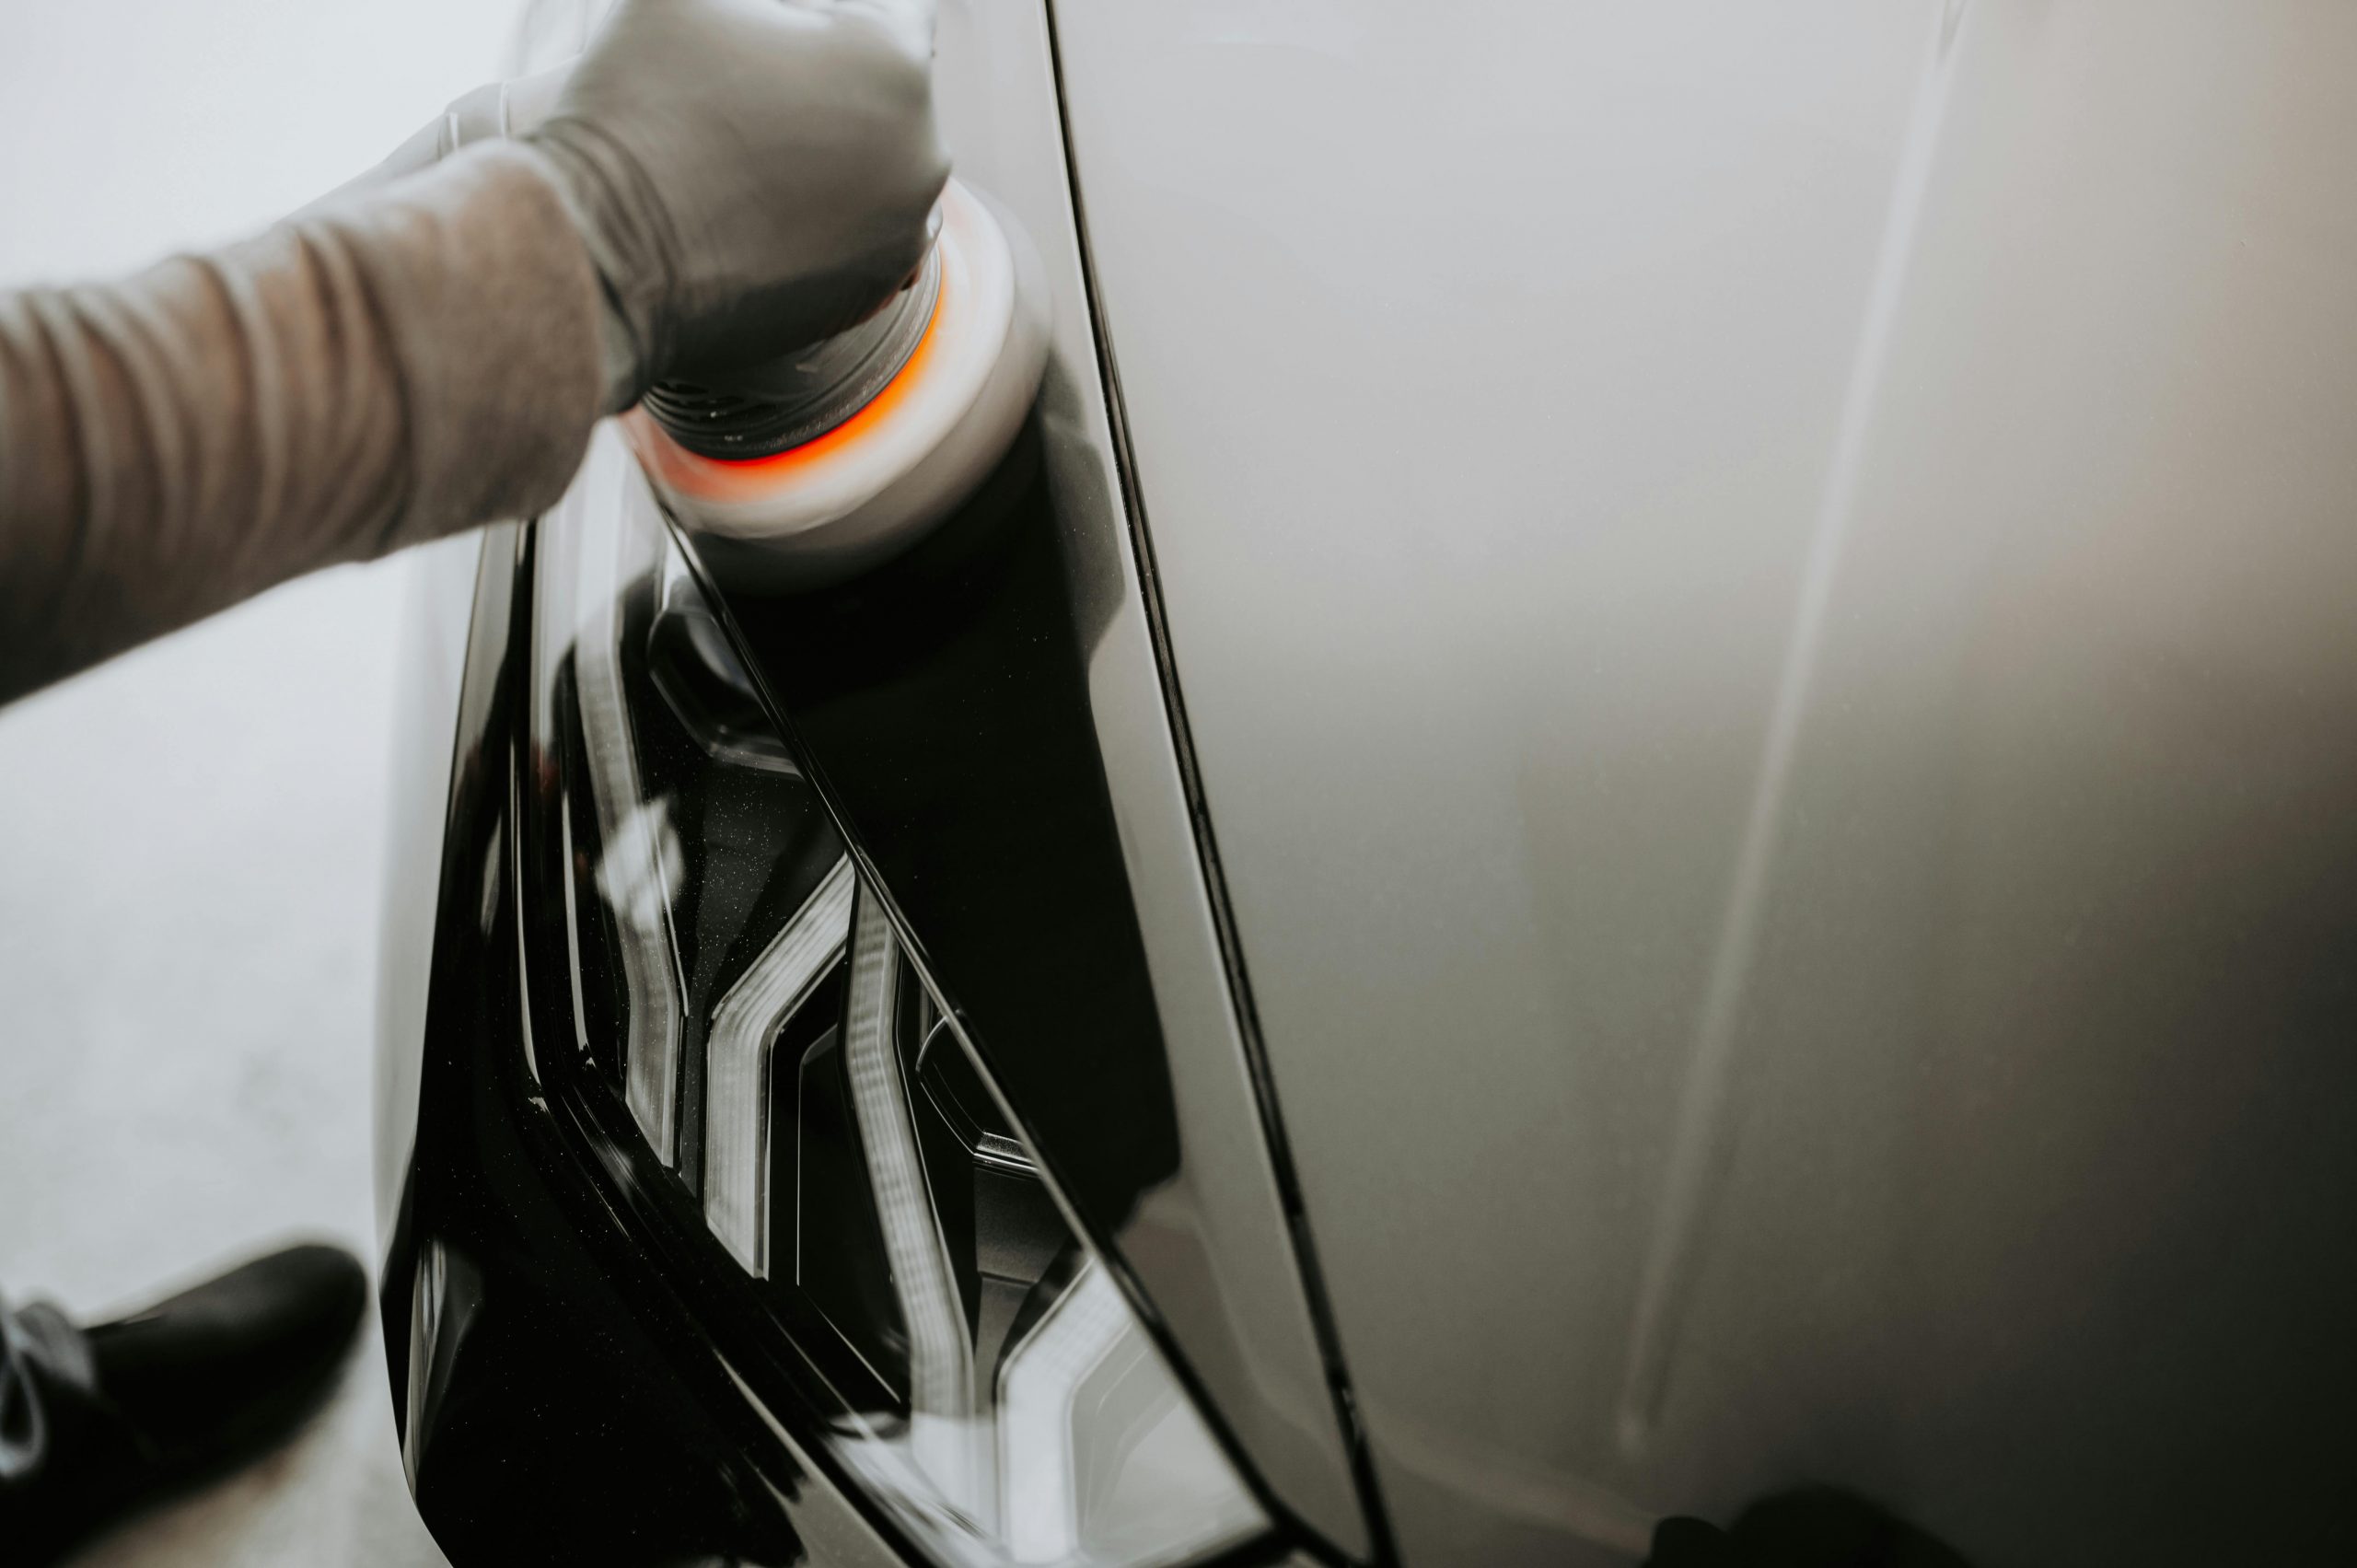
Final Touches: How to Make It Look Even Better
Once the dent’s gone, it’s time to give your car’s finish a little TLC:
- Clean the area with car soap and a soft cloth to remove dust or residue.
- Use a rubbing compound to buff out any fine scratches or hazy spots.
- Apply wax or sealant to protect the paint and add shine.
- Touch up chipped paint with a color-matching pen to prevent rust.
It’s a simple way to blend everything together and make the area look as good as new.
Wrap-Up: You Don’t Need to Be a Mechanic to Fix a Dent
Fixing a dent in a car at home isn’t just possible—it’s surprisingly doable for beginners. With a little patience and the right technique, you can save money and feel proud of the result.
Just remember:
- Start small—don’t try DIY on deep or complex dents
- Choose the right method for the surface (metal vs plastic)
- Be patient and don’t overdo it
Whether you’re prepping for a resale or just want your car looking sharp again, learning how to fix a dent in a car at home is a solid skill for any driver.